
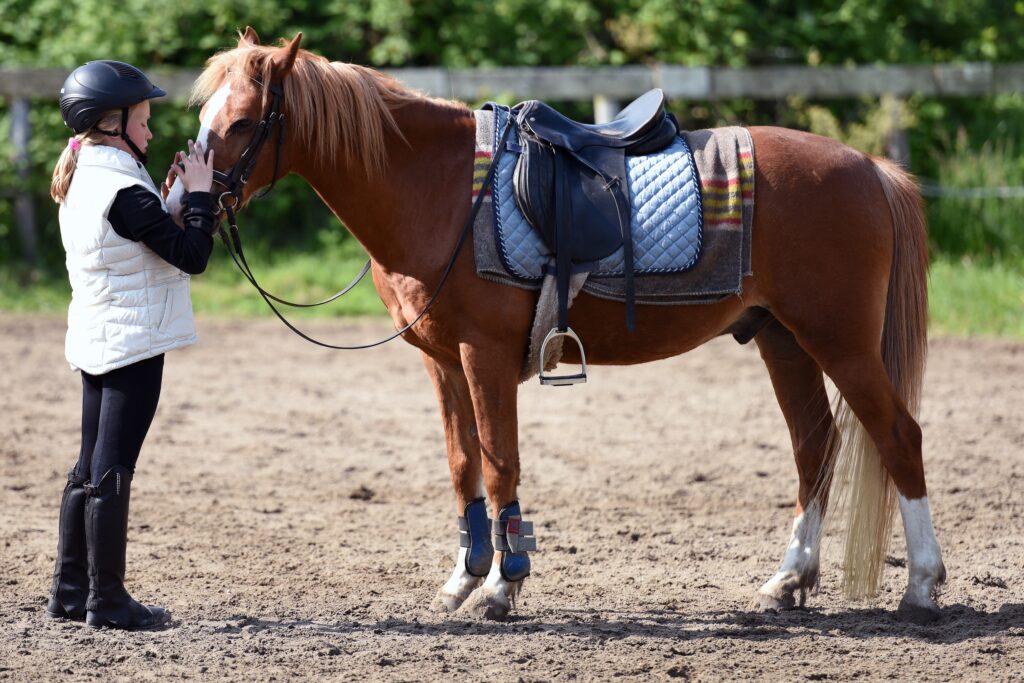
We love our horses, are proud of them, and want to show them off. And every single one of us has something that makes us unique. Saddle pads are a great way to wear what sets you apart from the rest of the herd!
I don’t know about you, but I love a good DIY project. Buying things off the rack just isn’t as fun! And when people compliment you on your saddle pad, you can respond with “thanks, I made it.” You can’t put a price tag on that feeling!
So how do you create custom saddle pads?
There are a few ways to customize your saddle pad: tie dye, iron on patches, embroidery, and sequins.
Interested in learning which option is the best for you and your style? Read on!
Tie Dye
Remember tie dying t-shirts as a kid (or adult)? This style has recently seen a big revival, with people tie-dying everything from pillowcases to sweatpants.
Why not tie dye a saddle pad? Although it’s involved, it’s definitely not hard to do! And if you’re anything like me and have several designated “barn shirts” that are tie dyed, you can match your horse and look like a Lisa Frank masterpiece. (are people still into Lisa Frank, or did that end with the 90s?)
How to Tie Dye a Saddle Pad
Tie dye is back! Whether you’ve been a fan of this trend for decades or are new to the tie dye bandwagon, it’s a great way to spruce up an otherwise boring article of clothing or, in this case, saddle pad.
What you need: a cotton saddle pad, dyes, squeeze bottles (often come in kits) rubber bands, a plastic garbage bag, and a washing machine.

Step One: Get Your Workspace Ready
There’s no way around it, tie dye can be messy! Make sure your workspace is well equipped and covered. Wash your saddle pad ahead of time so you don’t have any dirt or hair on it.
Step Two: Tie Your Fabric
Next, you’ll need to use rubber bands to section off your fabric. You may find that the rubber bands that normally come with tie dye kits are too flimsy and likely to snap when used with a thicker material like that of a saddle pad. So it may be better to use the thick, heavy duty bands you can find at an office supply store.
Step Three: Dye the Saddle Pad
Once you’ve banded your saddle pad, it’s time to dye it! Prep your dye and squeeze bottles according to the directions that come with them. Squeeze die out onto one section at a time.e Try not to blend too many colors or it could end up looking muddy.
Let your dye soak into the fabric for as long as the instructions recommend. Once you’re done with that, it’s time to move onto the next step.
Step Four: Rinse and Let Dry
Next you’ll need to rinse your saddle pad and let it dry. Once you’re done with that, you’re ready to ride!
Iron On Patches
Another great way to create a custom saddle pad is to use iron on patches. They’re extremely simple to use, but they’re a fantastic way to set your saddle pad apart from all the others in the tack room.
How to Iron Patches Onto a Saddle Pad
Fabric patches are pretty easy to find! You can visit your local craft store like Joann Fabrics, or look online at sites like Etsy to find seemingly endless options. You can find patches to represent your other hobbies, horse’s name, favorite flowers, and pretty much anything you can think of.
What you need: a saddle pad, an iron, fabric glue, and some patches of your choice.
Step One: Get Your Supplies Ready
Plug in your iron and start heating it up. Make sure the temperature you set it to is compatible with the instructions that came with your patches. Do not add water to the iron, and don’t use a steam setting.
Make sure the saddle pad you’re using is free of hair and freshly washed.
Step Two: Apply Your Patches
Next, peel the sticker-type coating off of your patches, and press them down on your saddle pad. It’s best if you lay the saddle pad down flat during this process.
Step Three: Iron the Patches
Once your iron is hot, place a towel or cloth over your patch. Then run the iron over the cloth and press. This will melt that sticky coating into the saddle pad, and your patch will be effectively glued in place.
If your saddle pad is quilted or has an uneven texture, you may need to use some fabric glue around the edges of your patches and then press them down.
Embroider Patterns
If you’re especially crafty and have experience in embroidery or cross stitch, embroidering patterns onto your saddle pad is a spectacular (albeit time consuming) way to create a true work of art.
How to Embroider Patterns on a Saddle Pad
What you need: A saddle pad, embroidery floss, and a thick needle. If you have an embroidery machine and want to save your fingers, use it.
Step One: Clean Your Saddle Pad
You’re going to want to start with a saddle pad that’s clean and completely free of horse hair. Otherwise you’re going to end up stitching dirt into your saddle pad and potentially damaging your needle or machine.
Step Two: Lay Your Pad Out Flat
Keep your saddle pad on a large flat surface when you work on it. You may want to use an embroidery hoop to make sure it’s properly stretched out as you stitch.
Step Three: Start Your Stitching
I’m no expert in embroidery or cross stitching (that’s my little sister’s realm), so I’d recommend finding some high quality YouTube videos.
Stitch On Sequins or Buttons
Are you looking to add some sparkle to your saddle pad? Glitter usually isn’t the best option since it isn’t healthy for horses to ingest it if it accidentally comes off. So sequins are your answer! It may not be practical for everyday wear, but it’s a great way to add some glitz and glamor to your ride.
Buttons are also a great option. They’re thicker and more heavy duty than sequins, but they also come in plenty of colors or styles.
How to Sew Sequins or Buttons on Your Saddle Pad
I recommend using sequins to accent other types of customization since it’s not going to be entirely practical to stitch sequins on every square inch of your saddle pad. A few at the edges are going to go a long way, especially when the sun hits them just right.
What you need: A saddle pad, thread, a thick needle, and sequins or buttons.
Step One: Clean Your Saddle Pad Properly
Yes, this step is the same for all these projects, but it bears repeating: start with a saddle pad that’s clean and free of hair.
Step Two: Sew on Your Sequins or Buttons (or Use Hot Glue)
Lay your saddle pad out so it’s flat and get to work stitching! If you’re not up to stitch everything, you can cheat and use hot glue but it may not stick as well.
Step Three: Clip Off Any Long Threads
When you’re tying knots for every sequin, you’re going to end up with a lot of long threads. You’re going to need to go through with scissors and clip off the long threads that are left. And then, voila: you’re ready to ride!
Whichever option you choose, you’re sure to create a saddle pad that will stand out from everyone else’s tack at the barn. Customization options are endless.